How To Stop Or TaskKill A Process In Windows 10
Table of Contents
All the applications or software we run in almost any Operating system Mac, Linux, or Windows the Kernel of the operating system create a process for that application or software and assign it a Process ID or PID. PID is significant because it refers to the memory location where the process is running. If the process is gone wrong or has an issue, we can use PID to reference the process quickly and terminate it.
There are many ways we can stop or kill the process, which is either hanged or making issues like consuming all of your CPU or RAM. You can use Task Manager as a GUI way to kill the task, or you can use Command Prompt or Powershell to kill a process as well.
End Task Running Process In Windows 10 Using The Task Manager
Step 1: Open The Task Manager
First, we have to open the Task Manager, and If you do not know how to open the Task Manager, you can refer to the article “How To Open Windows Task Manager All Possible Ways”.
Step 2: Select The Process
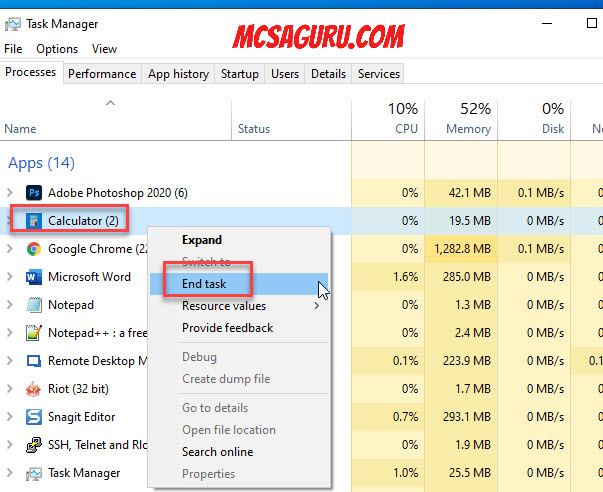
Next, select the process you want to kill and right-click on it, and choose the option “End task” to kill the running process in Windows, as shown in the screenshot below.
Kill The Running Process in Windows 10 Using Powershell
You can use Powershell to find and kill any running process on the Operating System. Powershell provides you more control and power over GUI tool like Task Manager, and this is my favorite way of terminating processes which cause issues.
Step 1: Find the Running Process Using Powershell
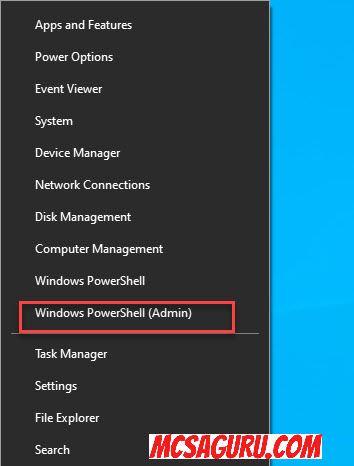
Press Windows and X key on your computer keyboard and select the option “Windows Powershell (Admin)” to run the Powershell with elevated privileges.

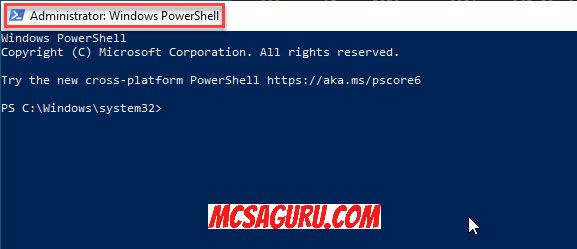
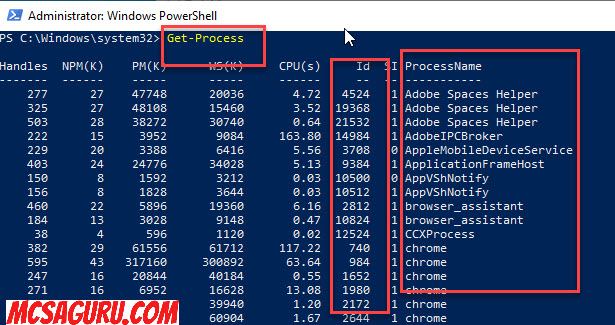
Once the Powershell is open, type the command “Get-Process” to get the list of all the running processes.
Get-ProcessNext, find the process you want to kill, note down its ProcessName or ID “PID “to terminate it. You can kill any process except system critical process with Powershell by its ProcessName or ID “PID”.
Step 2: Killing The Process Using Powershell
Once the ProcessName or ID “PID” is selected, execute the following Powershell command “Stop-Process -name “ProcessName” -Force” Or “Stop-Process -ID PID -Force” to the process in Windows.
Killing Process By ProcessName Using Stop-Process
Stop-Process -ProcessName "Calculator" -Force
Killing The Process By Its ID Using Stop-Process
Stop-Process -ID "15436" -Force
TaskKill Process in Windows 10 Using Command Prompt
Selecting and killing the Process in Command Prompt is very similar to Powershell. We have to first find the running Process we want to kill by using a Command called TaskList, and then like in Powershell, we have to note down its ProcessName, which is called ImageName “IM” in Command Prompt Or PID, which was called ID in Powershell
Step 1: List Running Processes Using Tasklist
Press the Windows and S key on your computer keyboard and type CMD in the search bar and select “Run as administrator” to run the Windows Command Prompt with the Admin rights.

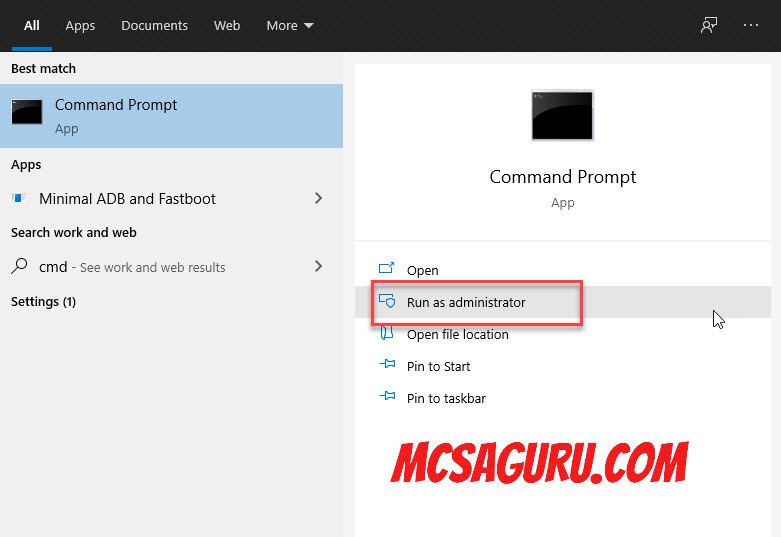
Command Prompt Running As Administrator
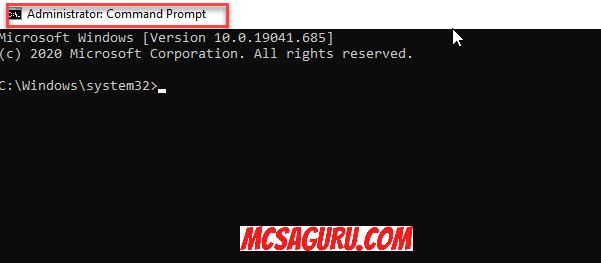
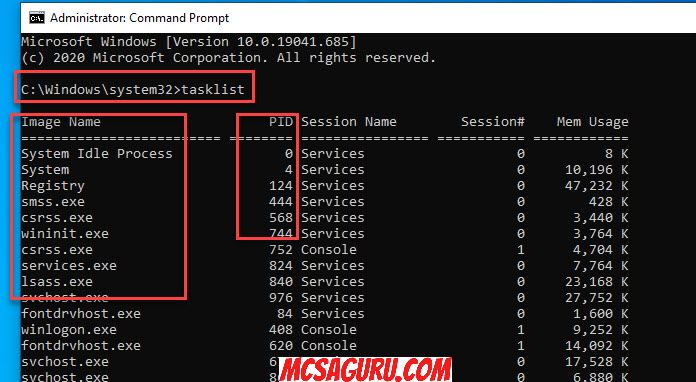
Once the elevated Command Prompt is up and running, Enter the following command in it “tasklist” to list all the processes active on the system.
tasklistSelect the Windows Process you want to kill or stop and right down its Image Name or PID number.
Step 2: Kill the Process Using Taskkill
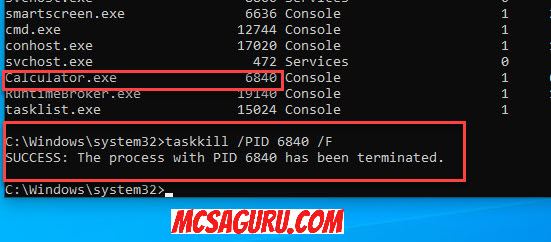
Once you have the Image Name and PID of the process you want to kill, execute the following command “taskkill /IM Image Name /F” Or “Taskkill /PID Number /F” into the Command Prompt.
Killing The Process Using taskkill and Image Name
taskkill /IM Calculator.exe /F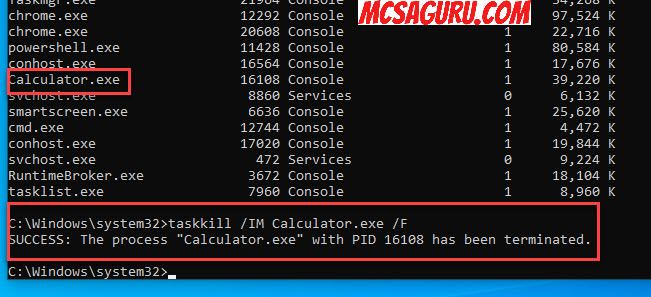
Killing The Process Using taskkill and PID
taskkill /PID 6840 /F