How To Create A Bootable USB Installation Media For Windows Server 2019
Table of Contents
In this blog post, I will teach you how to create a bootable USB installation media for any version of windows. We will be using Microsoft software called Windows 7 USB DVD Download Tool. This tool was released back in the times of Windows seven, but to this day, it is valid for any version of the Windows Operation System. You can use this software from Windows 7 till Windows 2019, and I think It will even be valid for a future version of Windows.
Download Server 2019 ISO File
To create Windows 2019 USB Installer Media, the first thing we need is Windows 2019 ISO media file, which you can download by following the steps below.
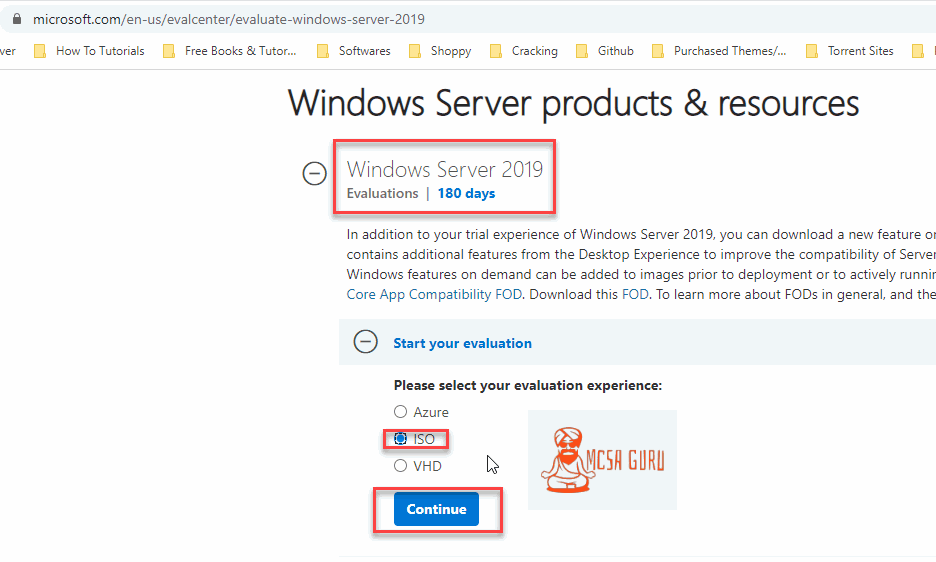
Open the below URL in your browser.
https://www.microsoft.com/en-us/evalcenter/evaluate-windows-server-2019Once the URL is Open, choose the ISO and click Continue.
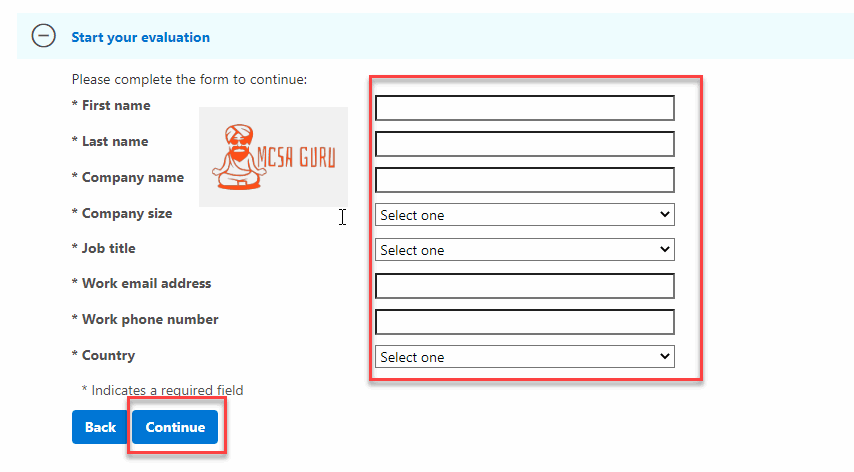
Now fill the form and click continue.
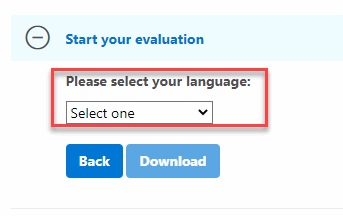
Select your language.
Click the Download button once you select the desired language.
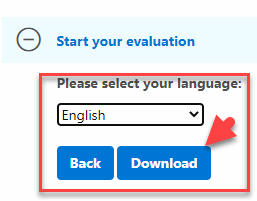
Once you click on the download button, the Download file starts, and depending on your internet speed, it might take some time for the download to complete.
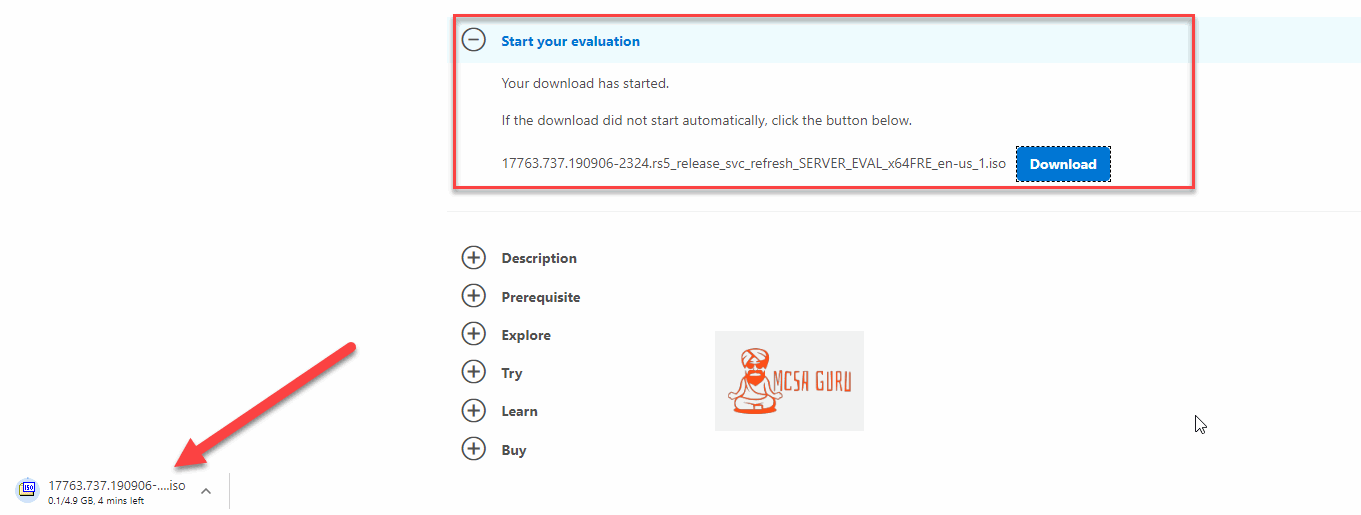
Download Windows 7 USB DVD Tool
Once the Windows 2019 ISO file download is complete, its time to download the Windows 7 USB DVD Download Tool from the link below.
Open the below link in your browser and follow the below steps to download and install the software.
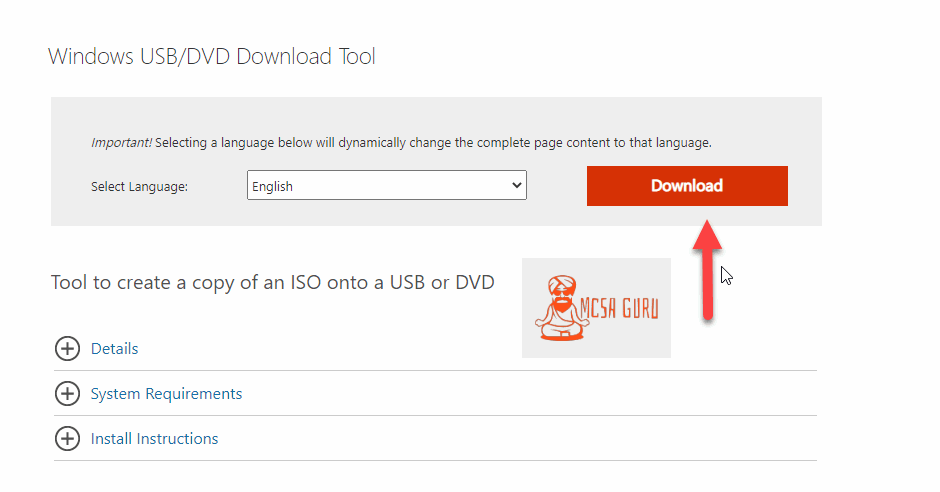
https://www.microsoft.com/en-us/download/details.aspx?id=56485Once the link is open, click on the Download button.
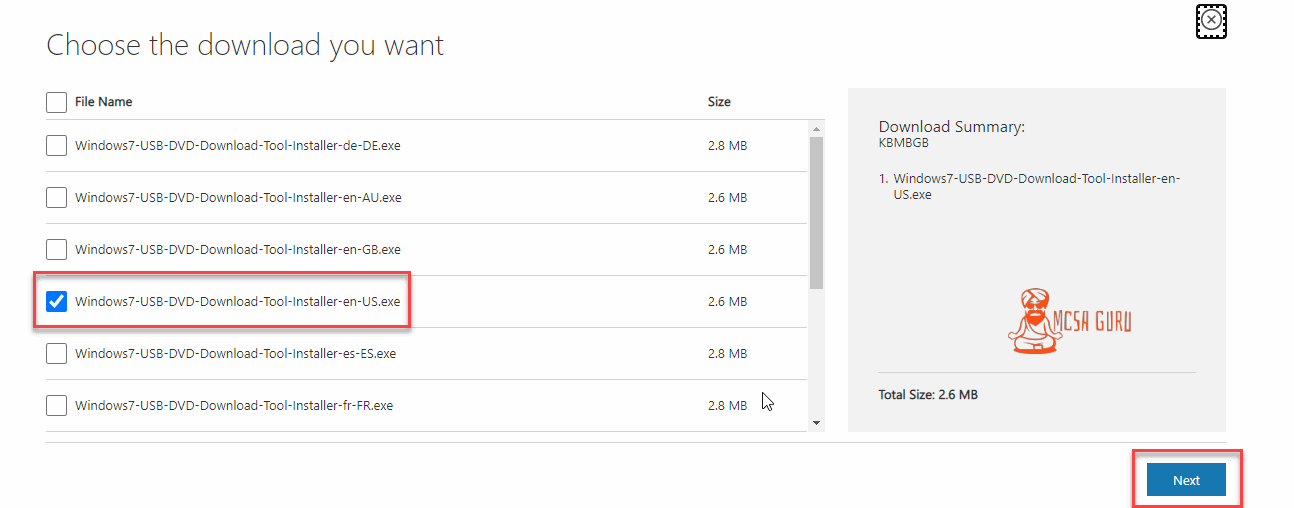
Choose the En-Us version of the software and click Next.
Installing Windows 7 USB DVD Tool
Once clicked on the Next button, the download will start, and in a few seconds, the download will be completed. Once the download is complete, go to the download location and select the file and click Open run the software Installation.
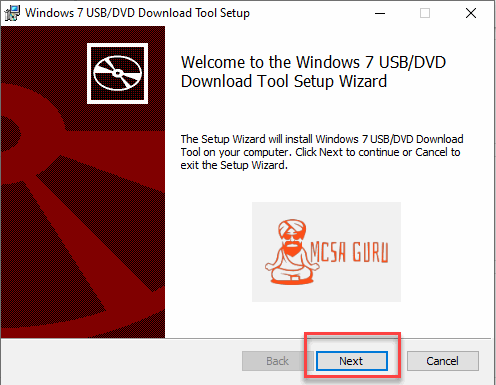
Click Next on the first screen.
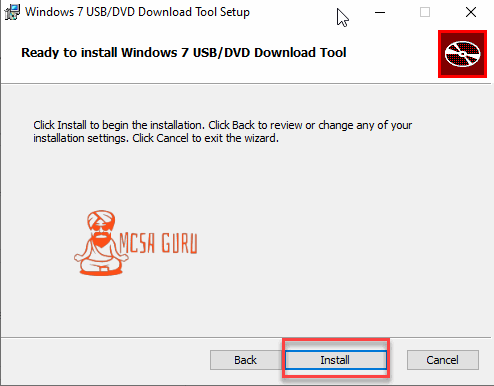
On the next screen, click Install to start the installation process.
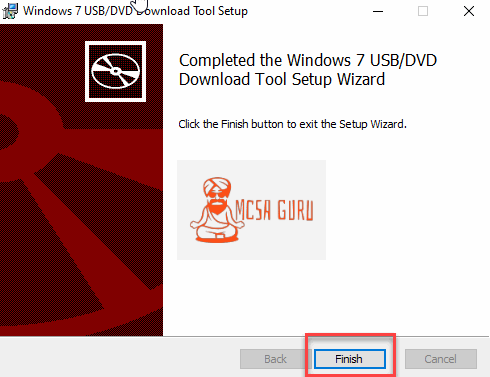
Wait only for a few seconds, and the installation will be complete.
Creating Server 2019 Bootable USB Drive
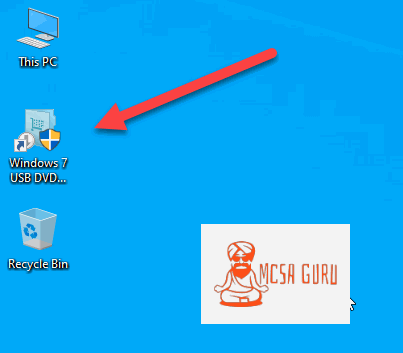
Once the installation of the Windows 7 USB DVD Tool is complete, its time to run the application. Go to your desktop and double click on the Windows 7 USB DVD Tool icon.
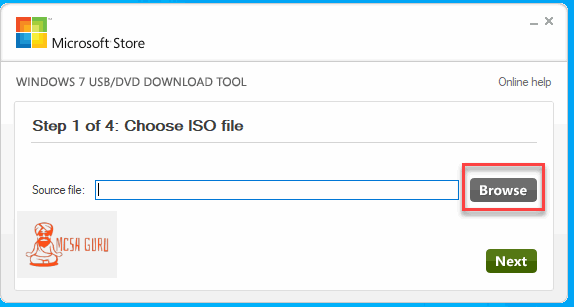
On the first screen, click on the browse button to browse the location of the Windows Server 2019 ISO file.
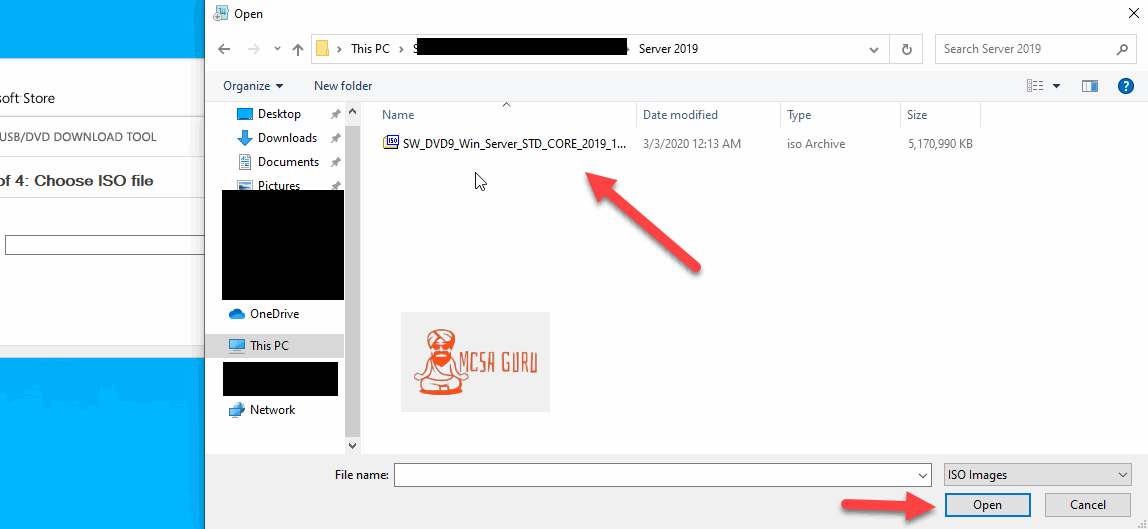
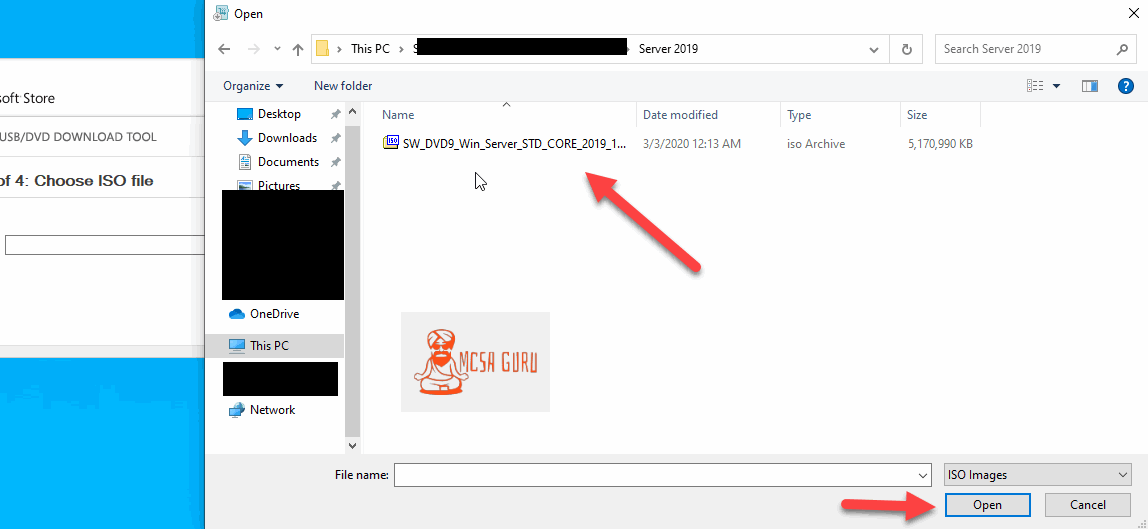
Select the Windows 2019 ISO file and click on the Open button.
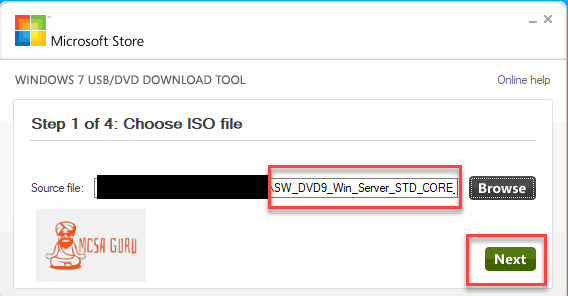
Click Next
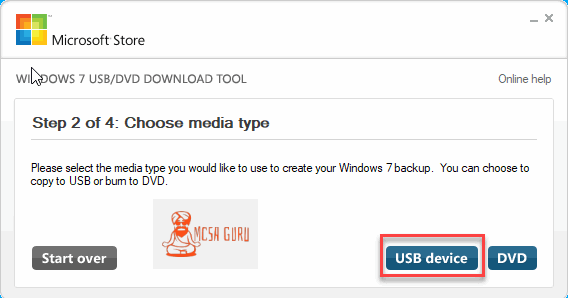
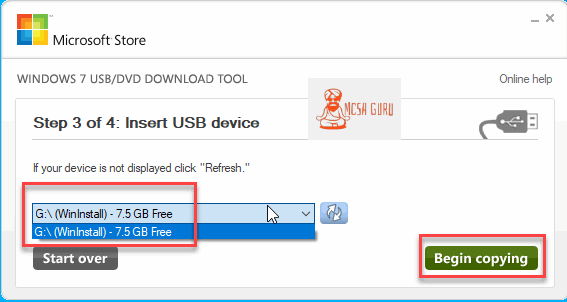
Click on the USB device.
Now choose your USB device and click began coping.
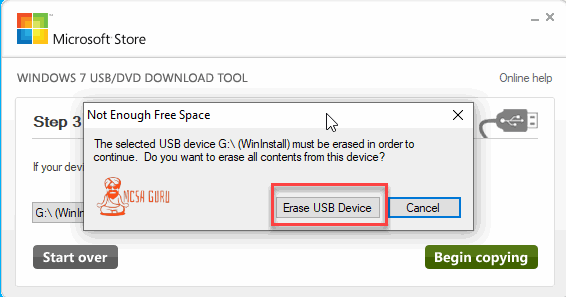
Now click on Erase USB device.
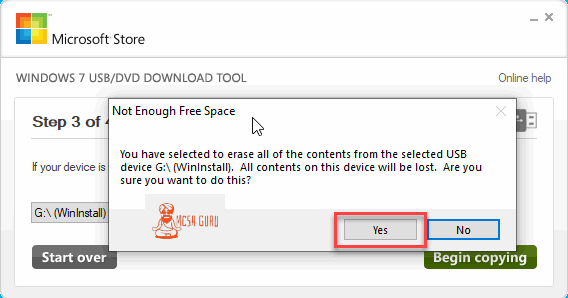
Next click Yes to confirm.
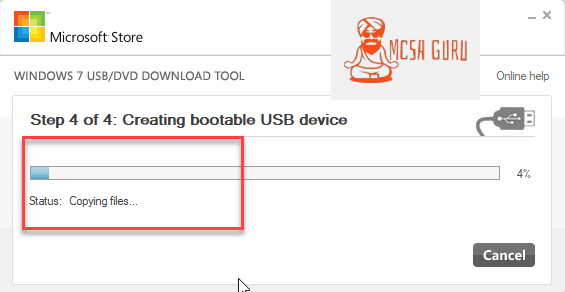
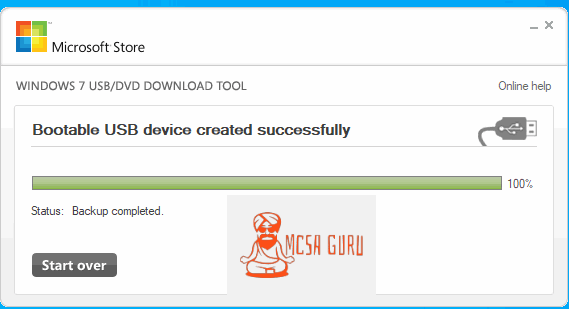
Now sit back and relax your USB drive will be formatted, and Windows 2019 setup files will be copied over it. Depending on your computer and USB drive, it could take anywhere from 5 to 20 minutes for this process to complete.
Once the process is complete, you can remove your USB drive and plug it into the computer where you want to install the Server 2019 operating system.
That’s it for this tutorial. In my next tutorial, I will show you how to install Windows Server 2019 using the bootable USB drive we just created. So please bookmark MCSAGURU website and keep coming back for new tutorials.


