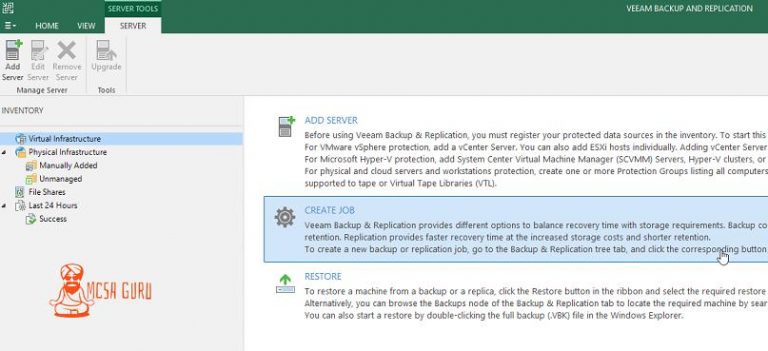
How To Install Veeam Backup & Replication 10
Table of Contents
Veeam Backup & Replication is the only software comes into my mind when someone asks me about data protection or disaster recovery. It can create an Image-Level backup of Virtual, physical, or even for machines in the cloud. It uses groundbreaking new technology for optimizing data transfer and uses significantly fewer resources, which helps lower the hardware and storage cost.
Features of Veeam Backup & Replication:
- The most loved Veeam Backup & Replication feature is a centralized console for administrating backups for physical, virtual, or cloud servers/machines. The centralized console also helps you manage your backup/restore operations or create scheduled data protection operations or reporting tasks.
- Another great feature is creating image-level backups and giving you the ability to file-level restore within a few minutes. You can make a file-level restore to the original location or choose any other new place.
- Another feature is replicating the virtual machine and keeping it in constant sync with the original Virtual machine. It comes in very handy for quick disaster recovery.
- You can also create an application-level backup like backup Microsoft SQL Server, Active Directory, Microsoft Exchange Server, My SQL, Oracle Database, and many others.
- There are many other great features, but I will not go through all of them; instead, I will show you how to download and install Veeam Backup & Replication. You can check this link if you want to learn more about Veeam Backup & Replication features.
System Requirements:
- Processor: Minimum 4 cores recommended.
- RAM/Memory: 4GB or above recommended.
- Hard Disk: 10GB for full system installation, including prerequisites.
- OS: Minimum Server 2008 R2 Sp1
Downloading Veeam Backup & Replication:
Below is the link to the Veeam website to download the Veeam Backup & Replication software, as shown in the screenshot below.

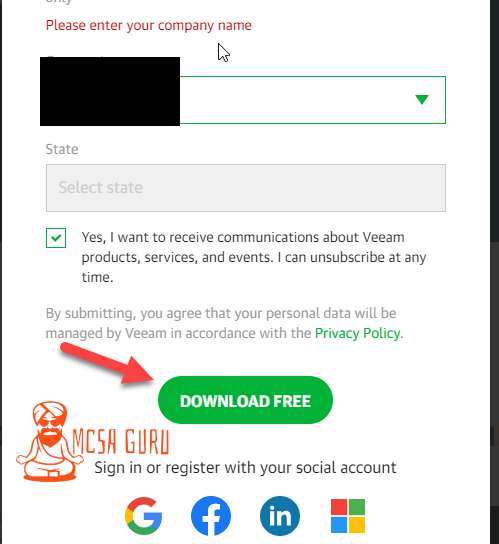
Once you click on Download Trial, a form will be popup for creating an account on the Veeam website. You have to fill-up the form to download the software. Once you fill-up the form, click on the Download Free button as shown in the below image.
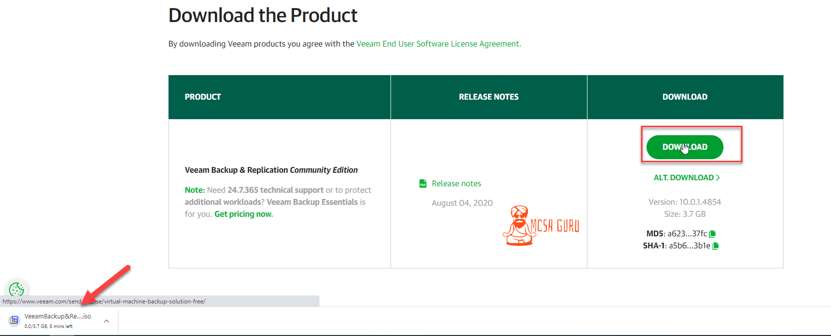
Click again on the Download button, and your download will start, as shown in the screenshot below.
If you do not want to go through all the hassle of creating an account and then getting the download link, you can click on the direct download link mentioned below.
Installation of Veeam Backup & Replication:
Once the download is complete double click on the downloaded file to automount it, or you can extract the ISO file if you have installed Winrar or 7zip software.

After mounting or extracting the file, double click on the setup file to start the setup process.
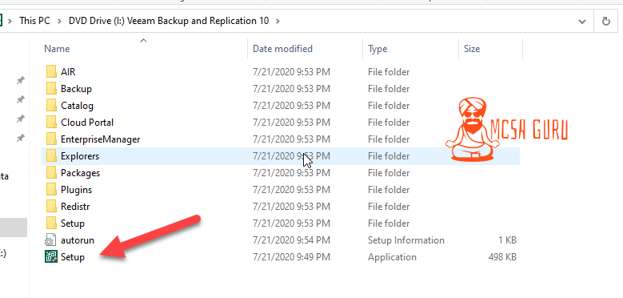
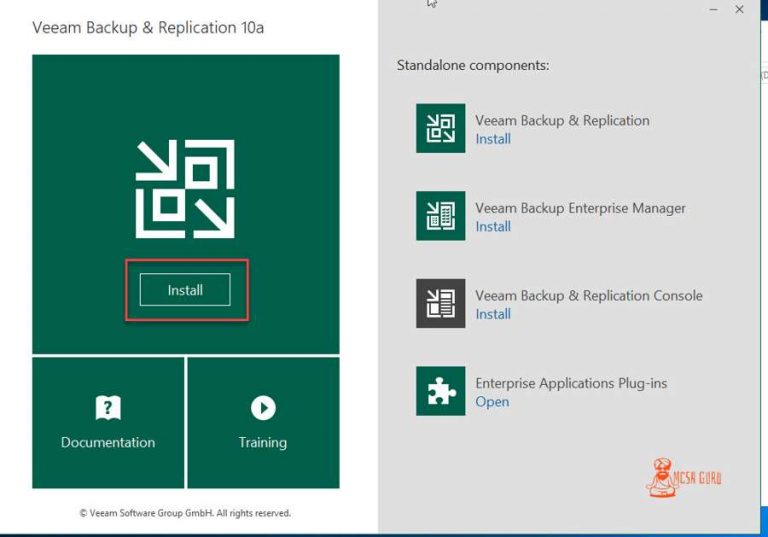
Once the program setup window is open, click on the Install button as shown in the image below.
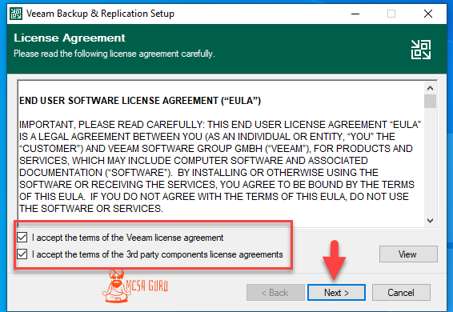
On the next screen, go through the END USER SOFTWARE LICENCE AGREEMENT, check both boxes and click next as shown in the image below.
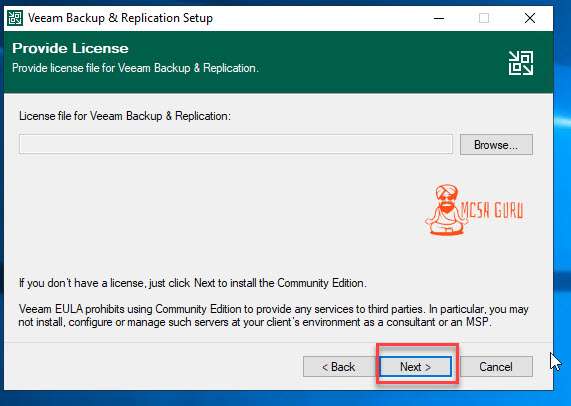
Next, You can browse the license file if you have purchased the license for Veeam Backup & Replication, or click Next for the trial license.
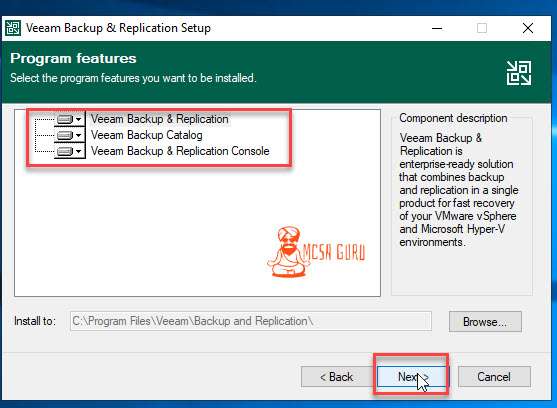
Click next again to install all the features which come with the software.
On the next screen, the setup process will check if you have installed all the prerequisites and show you the status of each prerequisite, and if any prerequisite is missing, click on Install to install the missing prerequisite/feature.
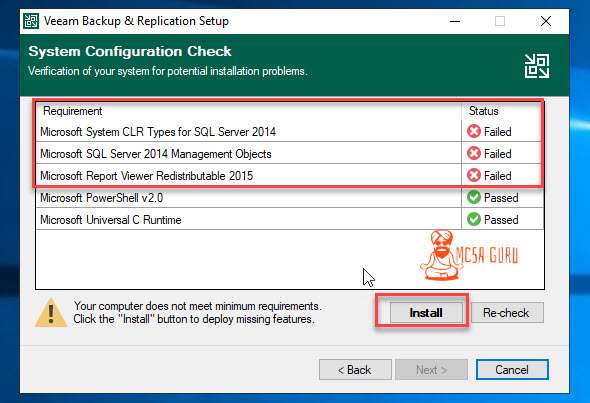
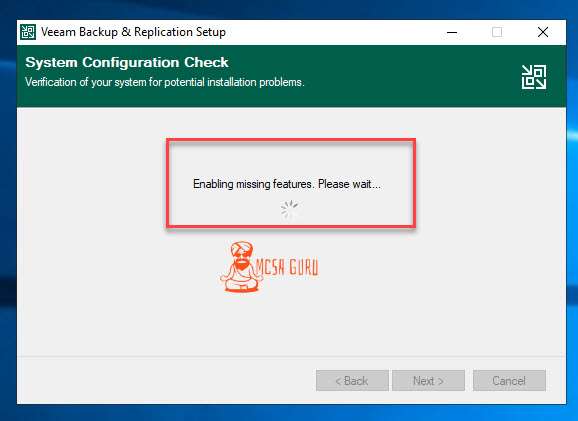
On the next screen setup process will start Installing the missing features/prerequisites.
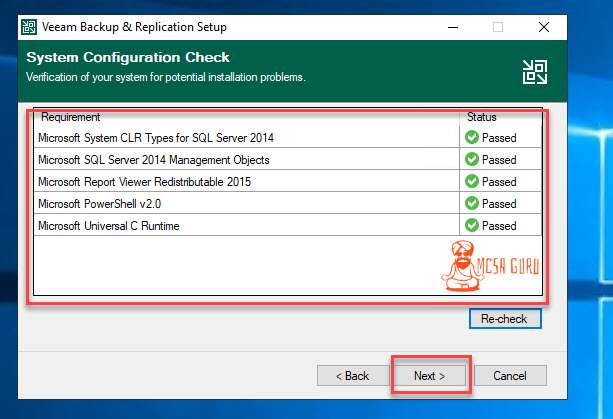
Once all the prerequisites’ status is Passed, click on the Next button shown in the image below.
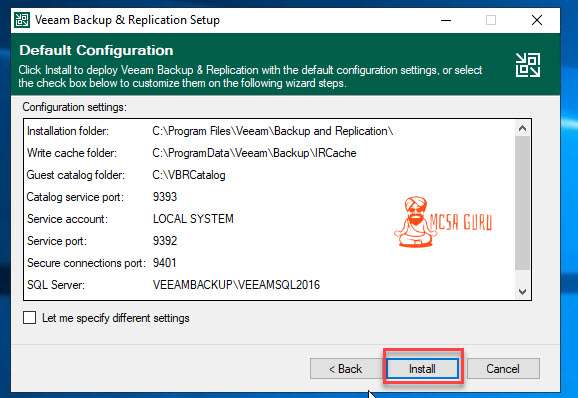
On the next screen, I will stick with the default configuration, but you can change it as per your need. Once everything looks ok to you, click the Install button to continue.
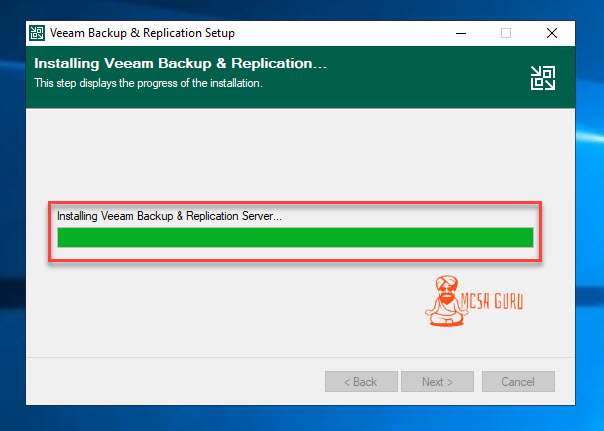
The installation process is now started, and it will take a few minutes to complete.
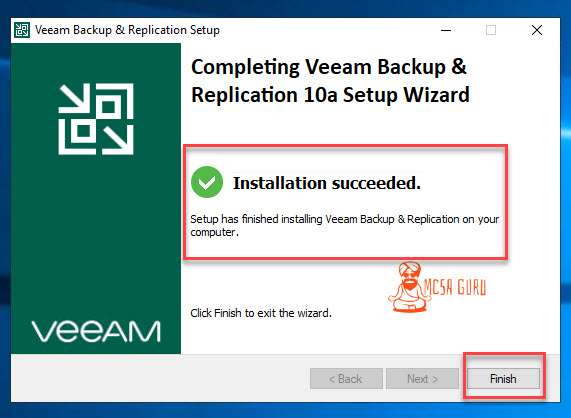
Once the installation of Veeam Backup & Replication is complete, click Finish to close the setup window.
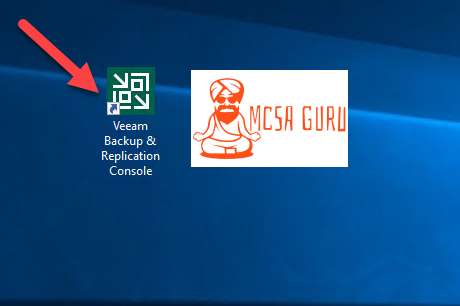
Now you will have a new icon on your desktop, as shown in the screenshot below. Double click on the Veeam Backup & Replication Console icon to open the console.
Next, click on the connect button for Veeam Backup & Replication Console to connect to the local server at Localhost.
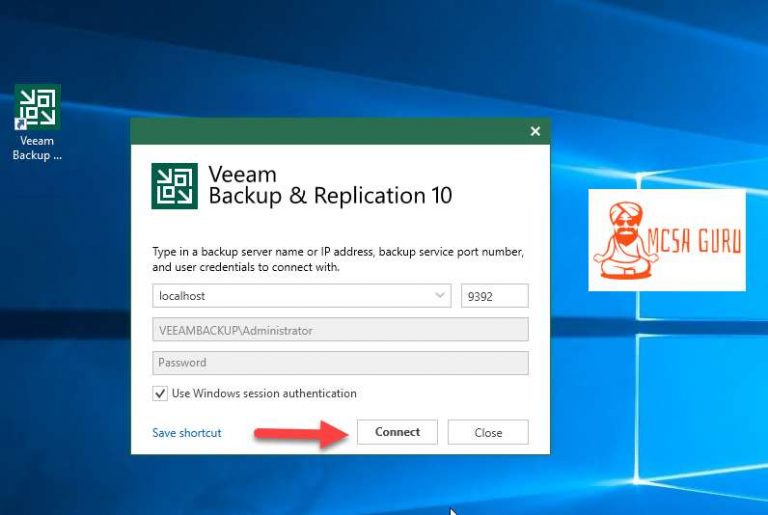
If everything goes well, Veeam Backup & Replication Console will open, and your installation on Veeam Backup & Replication Console will be complete successfully.
