Table of Contents
In this article, I will show you How to Install Hyper-V On Windows Server 2019. In windows server 2019, Hyper-v is one of the many roles we can install and configure. Hyper-v role allows us to install hypervisor so we can create and run many isolated virtual machines on a single host.
What’s New In Hyper-V 2019
Let’s talk about features and improvements before we start talking about requirements and installing the Hyper-V 2019.
- ReFS Deduplication feature.
- Shielded Virtual Machines
- It improved two-node clustering.
- Failover Clustering.
And much more, but I will leave it here else this article will change its directions.
Requirements Of Hyper-V Role On Windows Server 2019
If you have ever installed Hyper-V role on Windows Server 2012 R2 or 2016, the requirements are almost the same. The only different thing is if you are planning to run Shielded Virtual Machines, then you will need newer hardware because, before server 2019, the second-level address level translation (SLAT) was optional, but now it is required, so you will need the x64 bit processor which support SLAT.
General Hyper-V 2019 Requirements:
- Processor: A x64-bit Processor with SLAT support.
- Memory: At least 4GB free RAM and more if you plan to run many virtual machines.
- Bios: Virtualization should be enabled in BIOS OR UEFI
- Storage: You need some free storage as well to store the virtual machines data. How much? Its all depend on what you are going to install and run in Hyper-V
- OS: Of course, we will need Server 2019 installed to install Hyper-V Server 2019 role.
Installation Of Server 2019 Hyper-V Role Using GUI
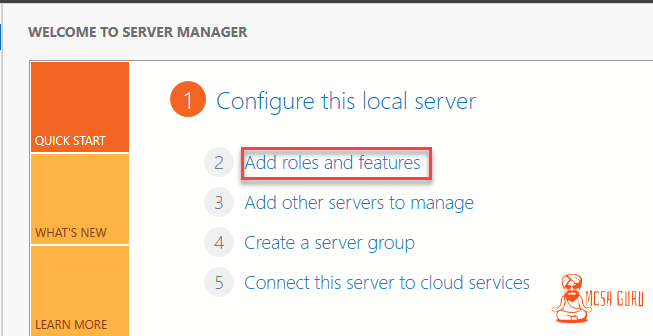
Before any further due, let’s start the installation process of the Hyper-V role on server 2019. Log in to your Server 2019 and open the Server Manager. From the Server Manager Dashboard, click on Add role and features, as shown in the screenshot below.
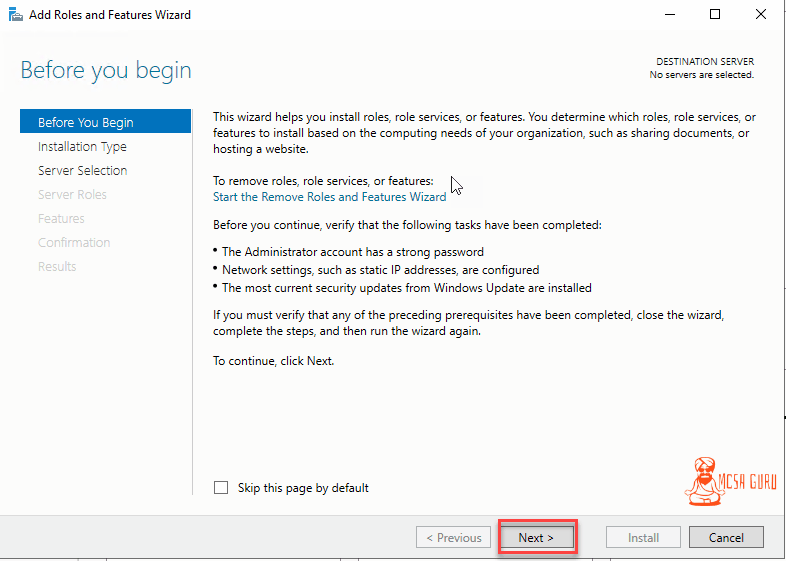
Click Next on the Rules and Features Wizard page.
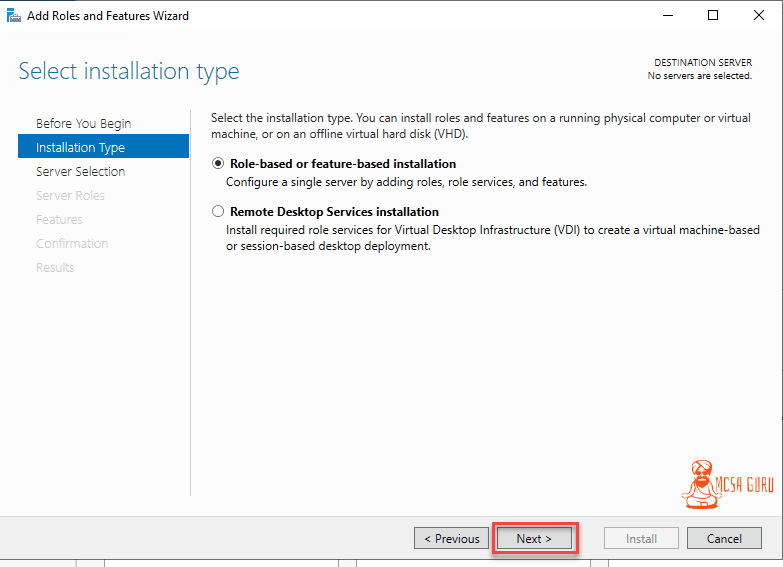
On the next screen, choose Role-based or feature-based installation and click Next.
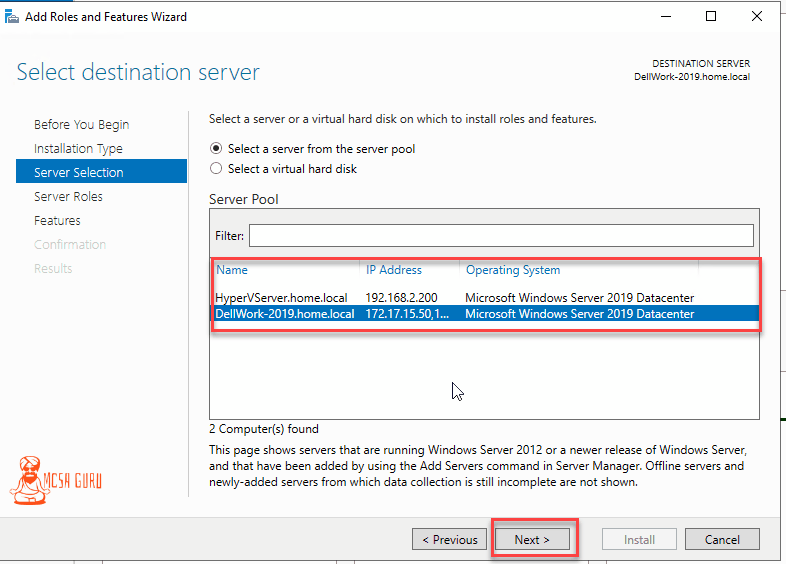
Now choose your server from the server pool and click Next.
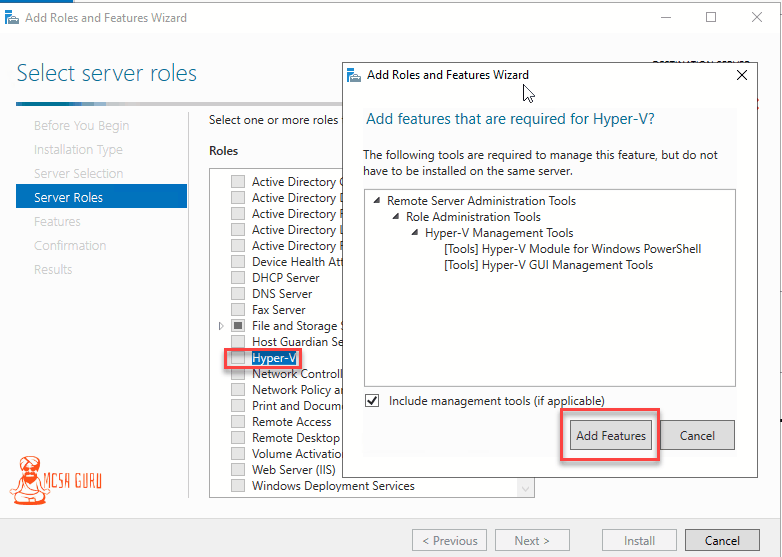
After that, tick the button next to Hyper-V and then on the pop-up page, click on Add Features.
Click Next again.

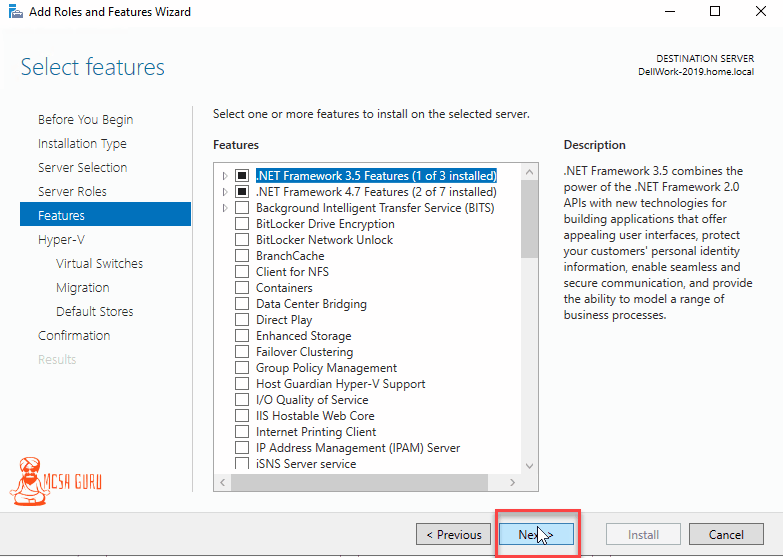
If you do not want to add any additional feature while installing the Hyper-V role, click Next else choose the feature and then click Next.
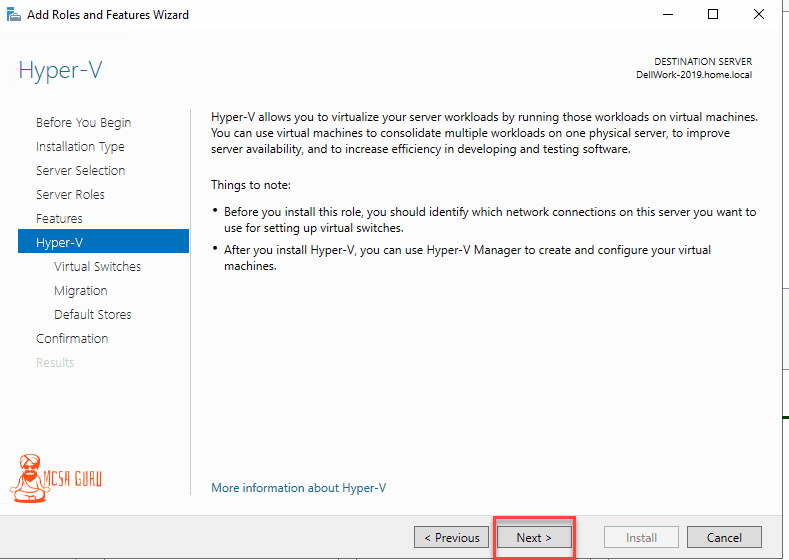
Click Next One more time.
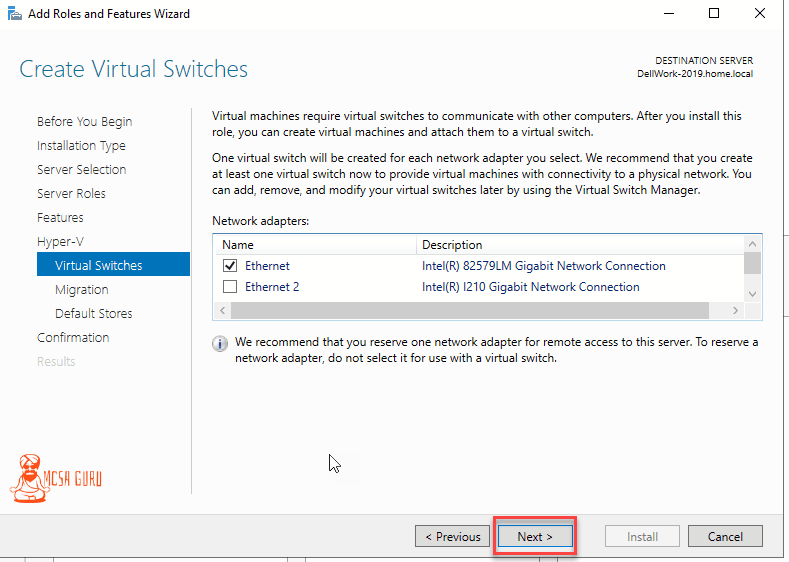
Next, choose your network card for the default switch. I have two network cards installed that’s why it’s showing for me two network adapters. For you, it will depend on how many network cards you have installed in your system.
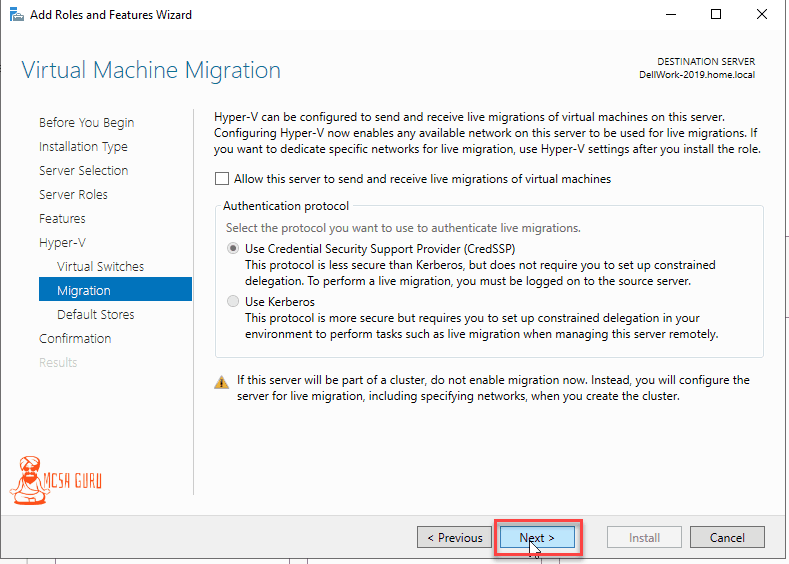
Virtual Machine Migration, for now, skip it by clicking the Next button. We will talk about it in future articles.
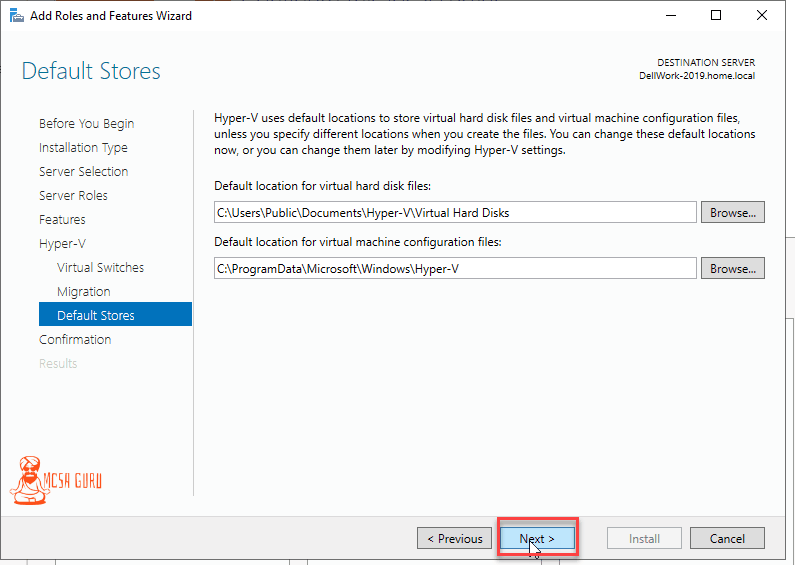
Next, choose your Default storage location for the Virtual Machine disk and Virtual Machine configuration file. If you want to choose the default location, then just skip this by clicking the Next button or Enter your default location.
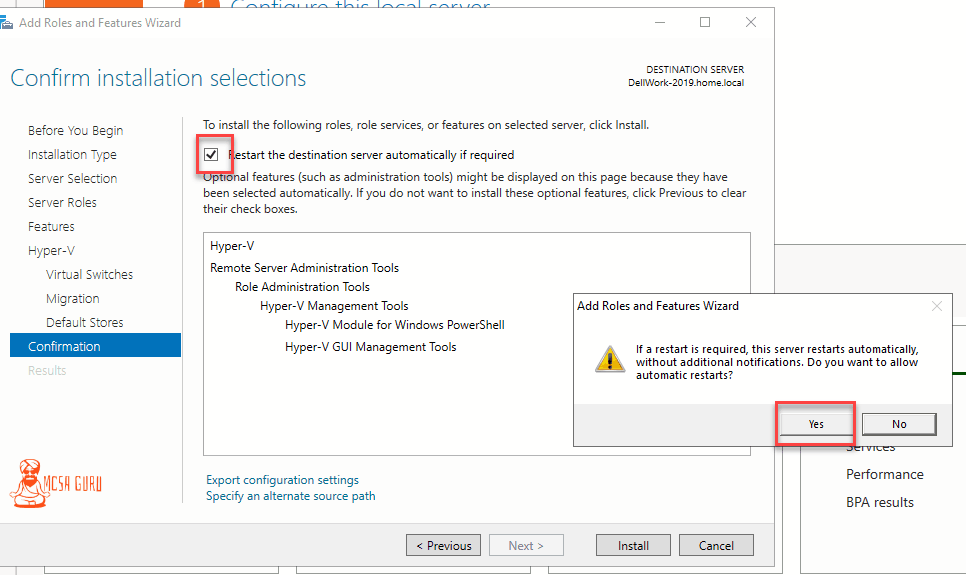
Tick the checkbox where it says Restart the destination server automatically if required and click yes for the popup window.
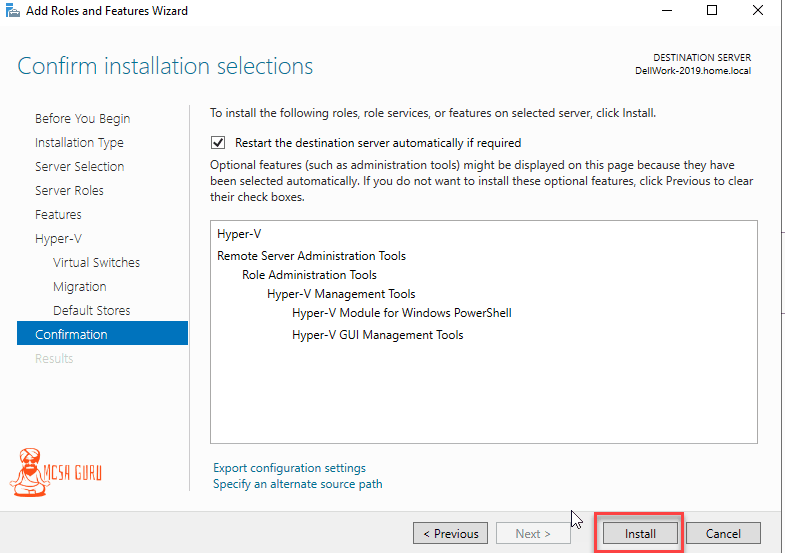
Click the Install button to start the installation process.
Note:-
Your computer will restart automatically suring the Hyper-V installation process.
Log in to the server after the installation is complete, and you will see Installation complete windows in front of you just close.
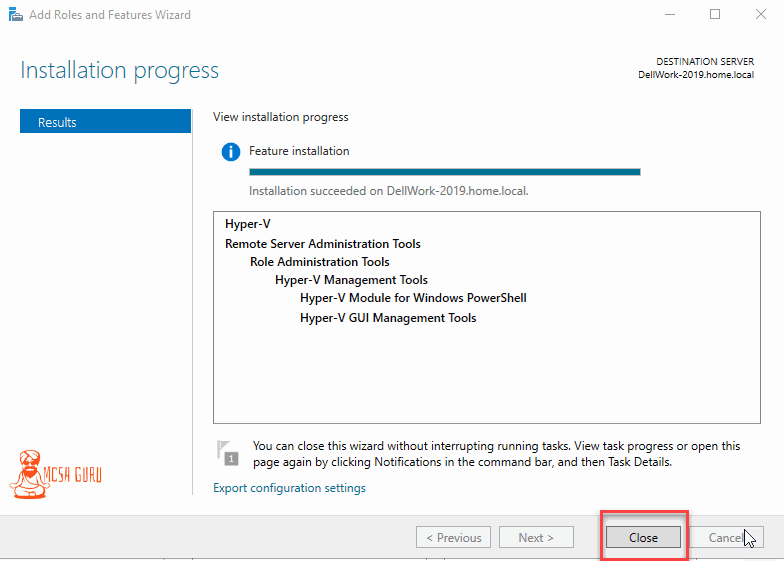
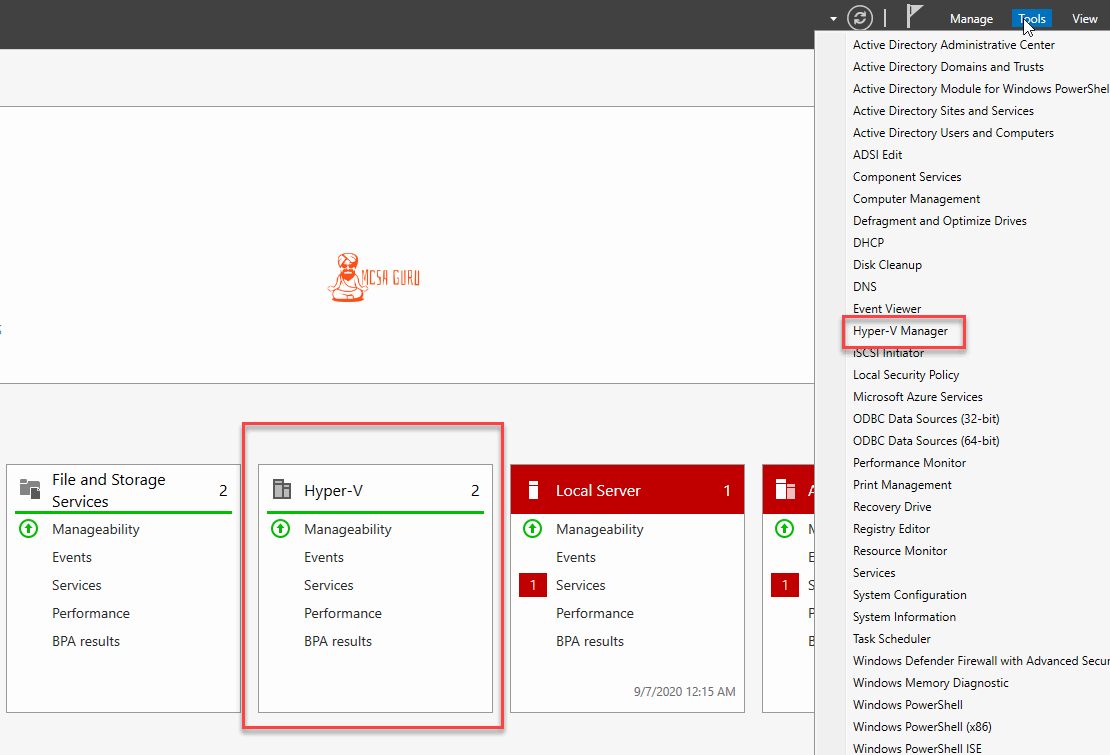
At this point, you have successfully completed the installation of the Hyper-V role on Windows Server 2019. Let’s open it by clicking on the Tools from the menu bar and then click on Hyper-V Manager.
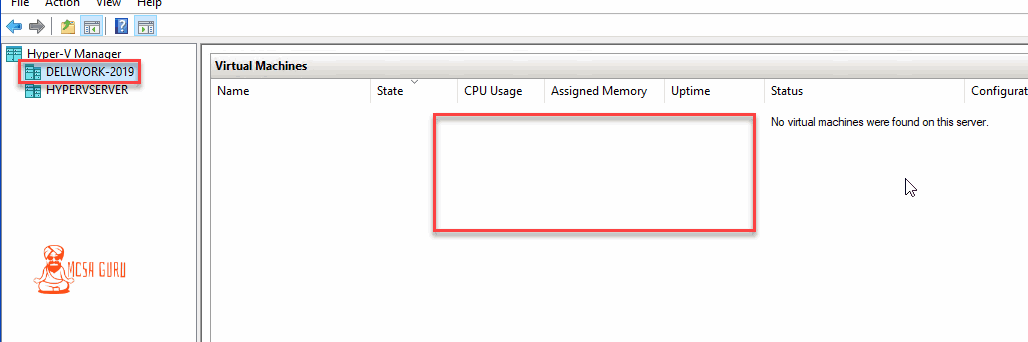
Done, Here you can see your Hyper-V Server Manager 2019.
Installation Of Server 2019 Hyper-V Role Using Powershell
Previously we installed the Hyper-v 2019 Role using GUI, and you can see how many steps we have to go through to install it through GUI. I will show you the easiest way to install the Hyper-V Role on Server 2019 using the Power of Powershell.
Just run the following command in the Powershell Console as an Administrator and relax. Powershell will do everything for you, and once you log in after the restart, Hyper-V will be already installed and ready to use.
Install-WindowsFeature -Name Hyper-V -IncludeManagementTools -Restart

Installation Of Server 2019 Hyper-V Role Using DISM
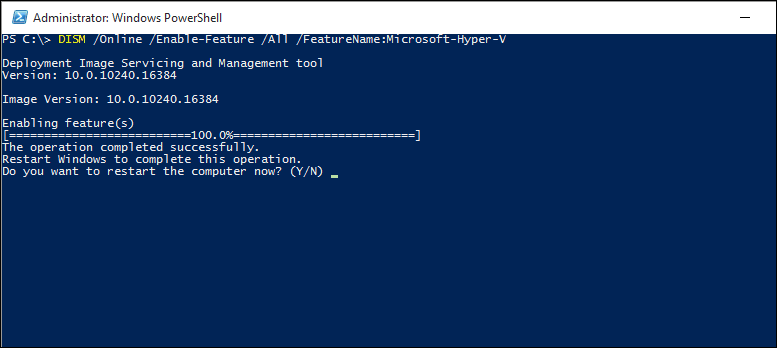
There is another way of quacking installing the Hyper-V Server 2019 Role same as Powershell, using only one line of code using DISM.
Just run the following command as Administrator and restart the computer once the installation is completed, as shown in the screenshot below.
dism /Online /Enable-Feature /FeatureName:Microsoft-Hyper-V /All
If you want to learn more about Hyper-V, then bookmark my Blog I will be posting much more and very soon.


